
The Guestlist Tab in Venue Driver is where guestlists for a given venue or account are input, managed, and approved by staff members. To access guestlists for a specific event, click the button marked "Lists" next to the event in question. Managers and above are the only staff members that can view guestlists other than their own.

List of Guestlists
Date
The date of the event in question.
Event
The title of the event.
Venue Which venue the event is located at.
Public
This will determine whether the guestlist can be signed up for via the venue's website. For integration clients only.
Lists
How many guestlists are approved for a given event.
Guests
How many approved guests for a given event.
Lists Button
Click this button to see a complete list of the guestlists for a given event.
Print Button
This will display a new tab in a web browser with a printable list of all approved guests for the evening.
Print VIP
This will display a new tab in a web browser with a printable list of all guests designated "VIP".
Guestlist Details in an event
List details are accessed by clicking the "Lists" button next to the event in question. The following columns are displayed

Staff
The staff member that set up the list.
Guest Count
The amount of guests in a given guestlist
Closed
Checking this checkbox will close that specific list to further input.
Approved
Checking this checkbox will approve a guestlist and cause it to appear in the iOS app, the web-based checkin, and the printed list.
Creating a new guestlist
To create a new guestlist, click the "Create New" button.
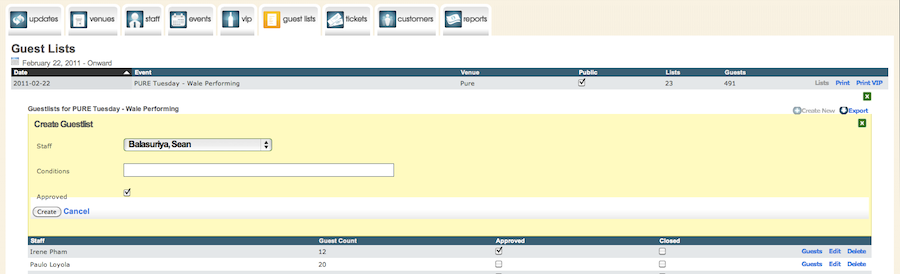
Creating a new guestlist will bring up optional fields for managers and above. Promoters can only create an unapproved guestlist with no set conditions.
Staff
Managers and above can set to which staff member gets the credit for a guestlist.
Conditions
Managers and above can set the conditions on a guestlist. These conditions display on the guestlist portion of the iOS app.
Approved
Checking this checkbox will approve the guestlist.
Entering Guests
Once a list is created, guests can be entered. Click the "Guests" button to begin entering guests for an event. Guests can be entered one by one, or in bulk, i.e. being copied and pasted from an email message.
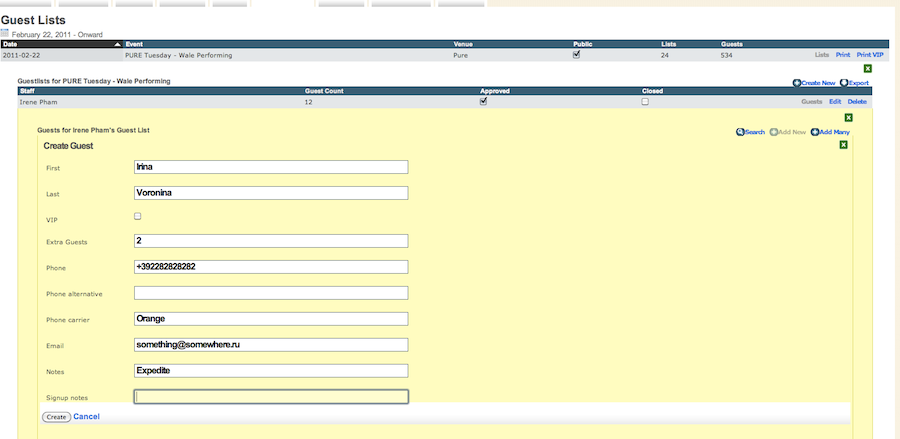
Entering guests one by one
To enter guests one by one with every detail, click the "Add New" button. The fields displayed are:
First
The first name of the guest.
Last
The last name of the guest.
VIP
Designates this guest in bold type on web checkin, the iOS app, or the printed list to call attention to that guest.
Extra Guests
How many extra guests will be arriving with the named guest.
Phone
The phone number, mobile or other wise, of the guest.
Phone Alternative
An alternate number for the guest if desired.
Phone carrier
Reserved for future use.
Email
The email of the guest attending.
Notes
Any notes about the guest attending. This will show up on the web checkin, iOS app, and printed list.
Signup notes
Deprecated. Removal slated for a future release.
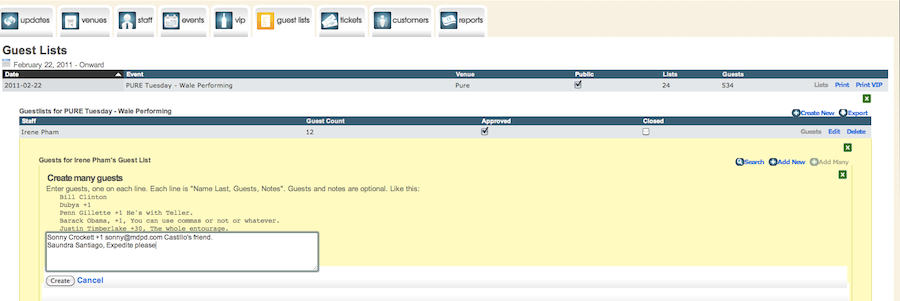
Entering guests in bulk
To enter guests in bulk, i.e. via copy-and-paste from an email, click the "Add Many" button.
Guest entry format
An example:
Sonny Crockett +1 sonny@mdpd.com, Castillo's friend.
Saundra Santiago, Expedite please.
Venue Driver will parse the above into the guestlist with the names on each line, the +1 entered as a +1 for Sonny Crockett, sonny@mdpd.com as Sonny's email which will appear in the Email field for guest tracking, and "Castillo's Friend" in the Notes column on the guestlist. Please note that large lists of over 100 persons make take a moment or two to parse. Click the "Create" button to enter.
Exporting a Guestlist.
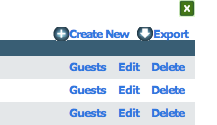
Managers and above can export the event's guestlist to CSV format for offline manipulation in popular spreadsheet applications such as Open Office Calc, Excel, and Numbers.